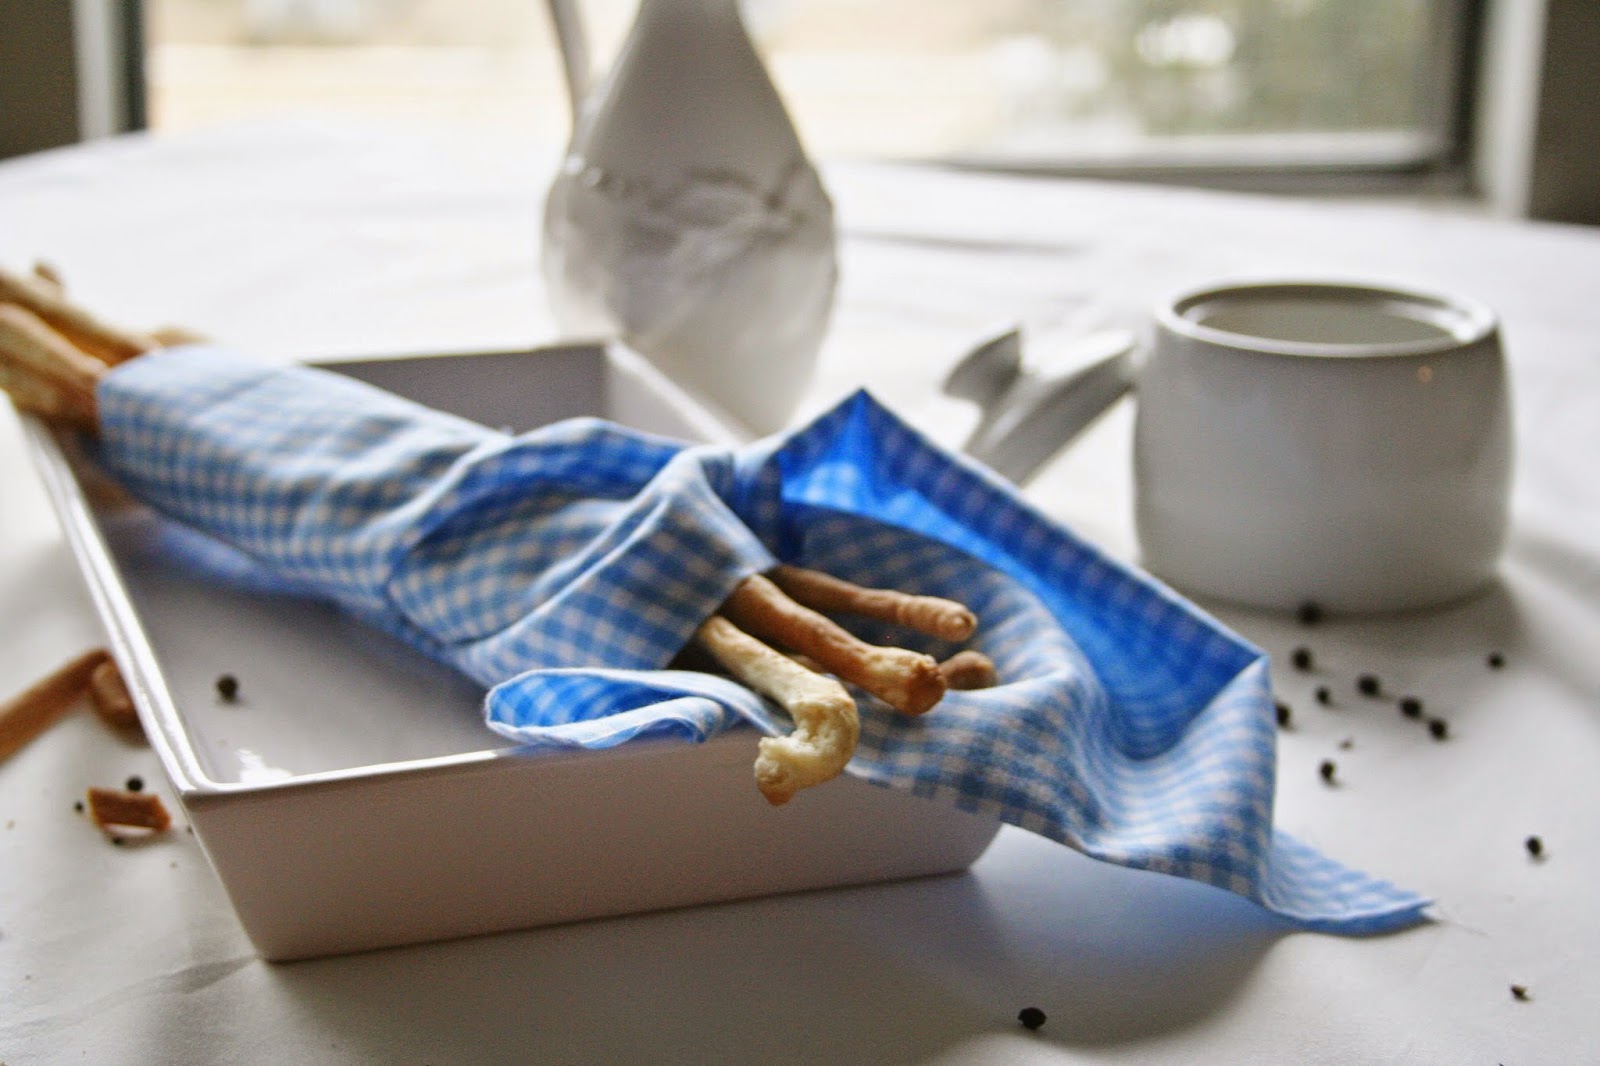
So I teach a bunch of teenage girls at church and by the time I teach them it is the third hour and they are hungry. I keep the good will by bringing nibbles. Today I brought some grissini. They are thin super crispy Italian bread sticks.
I never want to miss an opportunity to practice my photography so I whipped out my camera. I am always scouring my apartment for props and on top of our kitchen cabinet was a set of salt and pepper shakers as well as two jars with spouts all on a white tray. I decided to add it to my props since it was not really practical and having been married 8 years we have never used it. Sorry wedding gift bomb. I will give you new life.
It was also a pretty rainy day, not a lot of light but it did have a nice soft feeling.
I have a favorite. (the top one)
Here is the recipe
Grissini
3/4 c warm water
1 T Extra virgin olive oil
2 c (10oz) flour
1 tsp instant yeast
3/4 tsp salt
vegetable oil spray
kosher salt
coarsely ground black pepper
1. Combine the water and the oil. Set aside. Process the flour, yeast and salt in a food processor. With the processor running slowly, add the water slowly until a dough ball forms. You may not use all the water. Just add enough to get the dough together. Continue to process until smooth and elastic. Place in a greased bowl and let rise until doubled 1 1/2-2 hours.
2. Heat the oven to 350 degrees. Line 2 baking sheets with parchment paper.
3. Deflate the dough and divide in half. Roll each half in to a 12x8 inch rectangle. Using a pizza cutter, cut the dough into 15 pieces. Fold each piece in half lengthwise and gently roll into a 4 inch log. Let rest 5 minutes covered in plastic wrap while you do the same to the other half of the dough.
4. On a damp counter, roll each log into a 20 inch long rope. transfer to the baking sheet. Lightly spray with the oil and sprinkle with kosher salt and pepper. Bake until golden brown 25-30 minutes, rotating the pans halfway.
*recipe based on americas test kitchen